How to Create a Funeral Slideshow: Complete Step-by-Step Guide
📊 What type of music do you prefer for memorial slideshows?
import InteractiveChecklist from ”../../components/InteractiveChecklist.astro”; import BlogTipBox from ”../../components/BlogTipBox.astro”; import ShareableQuote from ”../../components/ShareableQuote.astro”;
Creating a funeral slideshow is one of the most meaningful ways to honor someone’s life.
In just a few minutes of photos and music, you can tell a story that words alone often can’t capture: childhood smiles, family holidays, quiet everyday moments, and the personality that made them unforgettable.
If you’ve never made one before, it can feel overwhelming — especially when you’re grieving.
This guide will walk you through exactly how to create a funeral slideshow step by step, with practical examples, tool recommendations, and expert tips so you can focus on what truly matters: celebrating a life well lived.
What to Include in a Funeral Slideshow (Interactive Checklist)
Before opening any software, make sure you have the right content.
<InteractiveChecklist items={[ “A clear photo from each life stage (childhood, teens, adulthood, later years)”, “Family photos (parents, siblings, partner, children, grandchildren)”, “Friends, hobbies, passions, and career moments”, “2–3 candid, joyful photos that show personality”, “Optional short video clips (10–20 seconds each)”, “A meaningful song (or 2–3 songs max)”, “Dates or short captions (optional, keep minimal)”, “A closing image with name + birth and passing dates” ]} />
Step 1: Gather and Organize Photos

Start by collecting photos from family members. Create a shared Google Drive or Dropbox folder so everyone can upload their favorites.
Then:
- Create subfolders by life stage (Childhood, School Years, Young Adult, Family Life, etc.)
- Remove blurry or duplicate images.
- Choose quality over quantity — 60 strong photos are better than 150 average ones.
If you’re scanning old printed photos, use at least 300dpi resolution.
Step 2: Decide on the Story Structure
The best funeral slideshow feels like a story, not a random photo dump.
You have three strong structure options:
Chronological (Most Common)
Childhood → Teen years → Adulthood → Legacy.
This is simple, clear, and emotionally powerful.
Thematic
Family → Friends → Work → Hobbies → Funny moments.
This works well if the person had strong passions or community involvement.
“Celebration of Life” Style
Start with joyful, vibrant images and focus more on personality than timeline.
Choose one structure and stick to it.
Step 3: Choose the Right Software
You don’t need professional editing skills.
Here are honest options:
Beginner-Friendly
- Canva – Very easy, web-based, beautiful templates.
- Google Slides – Simple, works everywhere, export as video.
- iMovie (Mac) – Clean interface, smooth transitions.
More Control
- Adobe Premiere Pro – Professional-level customization.
- Final Cut Pro – Powerful for Mac users.
AI-Enhanced Option
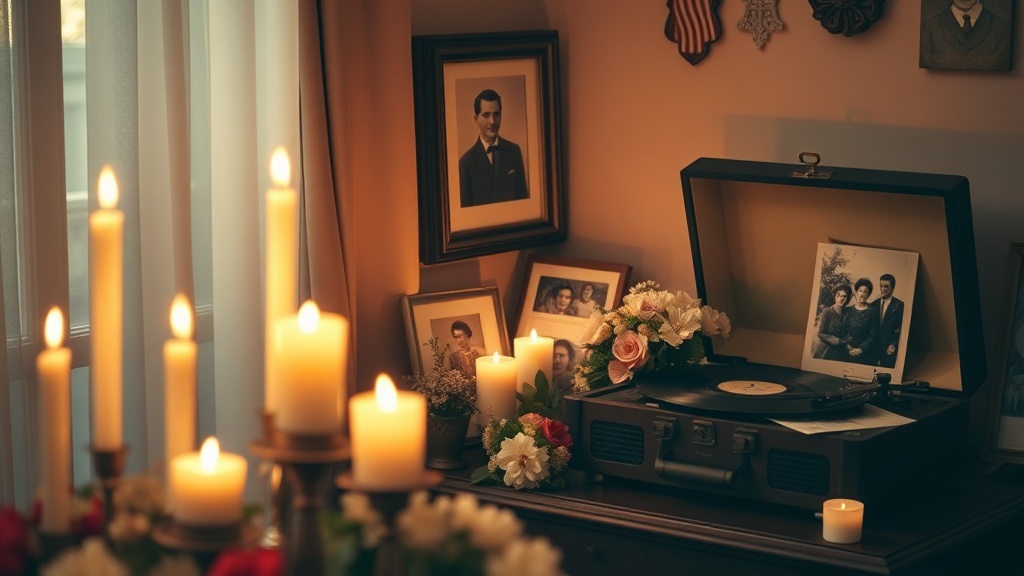
If you want to bring still photos to life, tools like Revivaly can gently animate old portraits (subtle eye movement, natural breathing effect) for 1€/photo. Used sparingly, this can create deeply emotional moments — especially for a final tribute image.
Be thoughtful: animation should enhance, not distract.
Step 4: Add Transitions (Keep Them Simple)
Avoid flashy effects.
Use:
- Fade in
- Cross dissolve
- Slow zoom (Ken Burns effect)
Consistency matters more than creativity here.
Step 5: Choose Meaningful Music
Music sets the emotional tone more than anything else.
Ask yourself:
- What song did they love?
- What song feels like them?
- What will bring comfort to the family?
You can find a full curated list in our guide to the best music for a funeral slideshow.
Practical tips:
- 1 song = 3–4 minutes
- 2 songs = 6–8 minutes
- Avoid more than 3 songs
- Lower volume slightly under spoken segments
Instrumental piano versions are often safest in formal settings.

Step 6: Add Light Captions (Optional)
Less is more.
Good examples:
- “Summer 1984”
- “Our family vacations”
- “He never missed a game”
Avoid long paragraphs. People won’t read them during a ceremony.
Step 7: Export and Test Everything
Export as MP4 (1080p).
Before the service:
- Test on the actual screen if possible.
- Check audio levels.
- Bring a backup USB drive.
- Upload a cloud backup.
Redundancy prevents last-minute stress.
Expert Tips from Funeral Directors & Video Editors
1. Start with a Strong Opening Image
A clear, warm portrait sets the tone.
2. End with Stillness
Hold the final image 8–10 seconds.
3. Avoid Over-Editing
Heavy filters can feel artificial.
4. Ask One Person to Approve
Too many opinions can delay completion.
Common Mistakes to Avoid
- Making it too long (over 12 minutes)
- Using low-resolution, pixelated photos
- Adding distracting animations
- Choosing inappropriate or overly upbeat music
- Forgetting to test equipment beforehand
When in doubt, simplify.
How Many Photos Should a Funeral Slideshow Have?
Here’s a simple formula:
Duration (minutes) × 10 = Approximate number of photos
Example:
- 6 minutes → 60 photos
- 8 minutes → 80 photos
If using animated photos, reduce total count slightly to let moments breathe.
Should You Include Video Clips?
Short clips (10–20 seconds) can be incredibly powerful.
Use sparingly:
- A birthday laugh
- A short speech
- A candid family moment
Make sure audio is clear.
FAQ
How long should a funeral slideshow be?
5–10 minutes is ideal.
Can I make one in a single day?
Yes. With organized photos and simple software, 3–6 hours is realistic.
Is it okay to use humor?
Yes — if it reflects their personality.
What file format should I use?
MP4 at 1080p is safest.
Final Thoughts
Creating a funeral slideshow is an act of love.
It’s not about perfection. It’s about presence. About giving everyone in the room a shared moment to remember, reflect, and feel connected.
Take your time. Keep it simple. Let the photos speak.
And if you want to make a single image feel especially alive — even just for the closing moment — thoughtful tools like Revivaly can add a subtle, human touch.
What matters most isn’t the software.
It’s the story you choose to tell.
Ready to bring your own memories to life?
Create a Video Now